
Google CX Agent Studio
Live Hub connects to an agent built in Google CX Agent Studio, using a Google service account and a conversation profile.
Bot management in Live Hub is built on the AudioCodes VoiceAI Connect platform. Its notes on integrating Google CX Studio agents are worth reading first.
Before you start
Live Hub needs two things from the Google side: a service account and a conversation profile ID.
Create the service account in the Google Cloud console:
- Under APIs & Services > Library, enable the Dialogflow API.
- Create a service account with the Dialogflow API Client and Dialogflow Agent Assist Client IAM permissions.
- Download its JSON key file.
To obtain the conversation profile ID, refer to Obtaining a conversation profile ID.
Create the bot connection
With the JSON key file and the conversation profile ID ready, create the bot connection in Live Hub.
To create a bot connection:
-
In the Navigation pane, select Bot connections, and then click Add new voice bot connection.
-
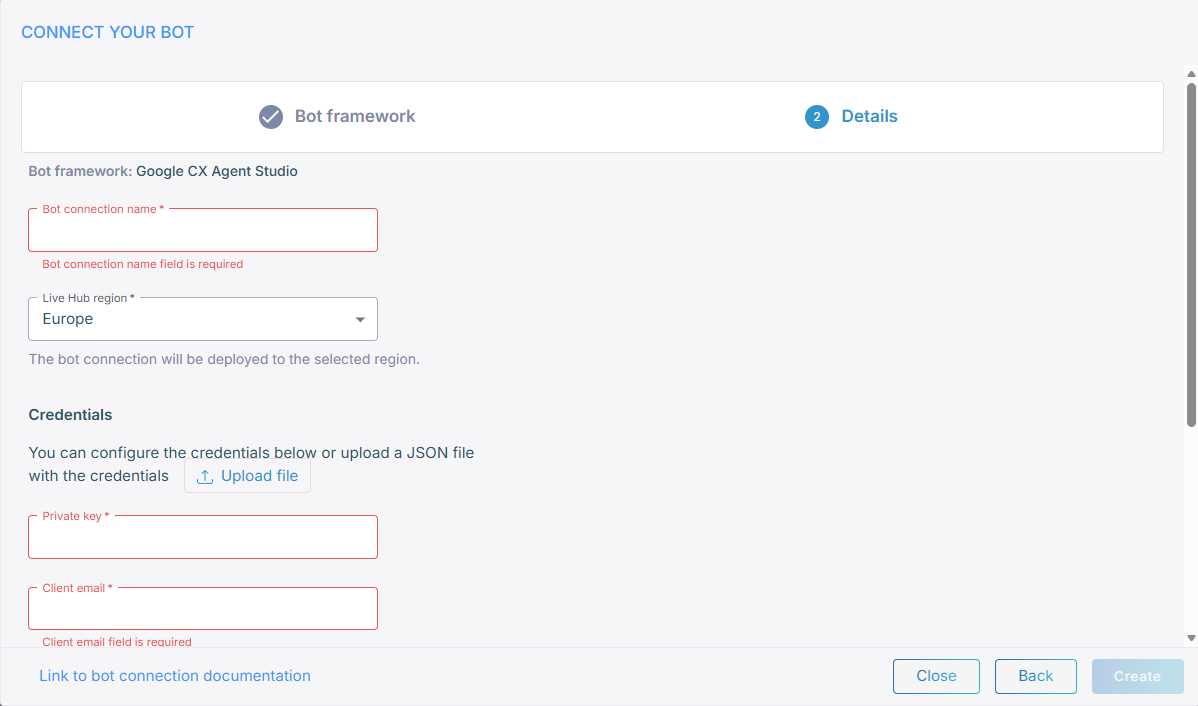
Select Google CX Agent Studio, and then click Next.
-
In the 'Bot connection name' field, enter a name for the bot connection.
-
From the 'Live Hub region' drop-down list, select the region your Live Hub voice infrastructure runs in. See Global region support.
-
Provide the service account credentials in one of the following ways:
- Click Upload file, and then select the JSON key file. Live Hub fills in 'Private key', 'Client email', and 'Project ID' for you.
- Type the values into the 'Private key', 'Client email', and 'Project ID' fields.
-
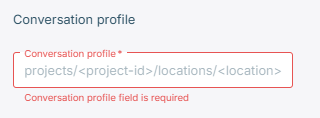
Under Conversation profile, enter the conversation profile ID.
-
Click Create.
By default, Live Hub streams voice directly to and from Google, so Google handles both speech-to-text and text-to-speech. If you prefer a third-party text-to-speech provider instead, on the bot connection's Settings tab, select it from the 'Text-to-speech provider' list. See Text-to-speech services for the list of options.